2. Creating Variables
Next, we will create a couple of variables that we will use later in the spreadsheet.
You do not need to use a variable; you can enter simple numbers into the spreadsheet cells. With a variable, you can define a value once and use it multiple times in the spreadsheet. You can in the future change the value of the variable and all the cells in the spreadsheet that use the variable will track the change.
The array of four buttons towards the bottom of the spreadsheet window open up sheets. Sheets in Mac OS X are windows that are attached to a main window, in our case, the spreadsheet window. Sheets drop down from the title bar of a window. They are modal, and until they are closed, you cannot do anything else with the spreadsheet that they are attached to. You will hear a warning beep from the computer when you attempt to do anything to the spreadsheet before closing a sheet.
Click on the Variables button now. The Variables sheet will drop from the title bar of the spreadsheet window.
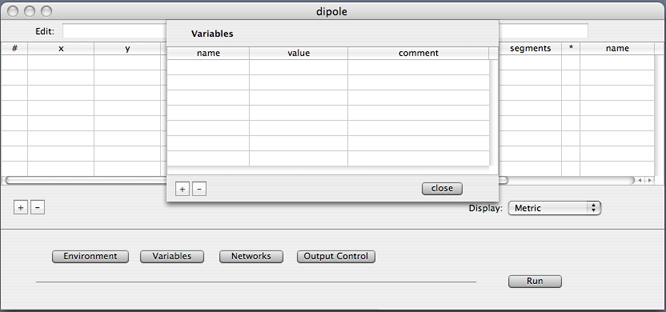
The Variables table consists of three columns. The first is the name of the variable, the second is a constant value that is assigned to the variable, and the third column is for you to place comments. cocoaNEC does not actually use the comments column; it is there for you to make notes for yourself.
Notice the plus and minus buttons below the Variables table. These buttons are used to create new variables and to remove existing variables.
Click on the plus button now to create a new variable.
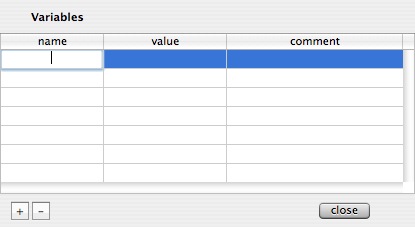
Notice that cocoaNEC has created a new empty variable item for you. It has also selected the name field of the new item, ready for you to enter a variable name.
Type "height" into this field and hit return on the keyboard. Double click on the same row under the value column -- this should select the value field for this variable. You can also hit the tab key on the keyboard to signal the completion of a field and selecting the next field.
Type 40' into the value field.
Notice the foot symbol (a single quote) after the number 40. This tells cocoaNEC to interpret the number as a value in feet instead of in meters. If you had entered 40 without the foot symbol, cocoaNEC will assume the number is in meters. For this tutorial example, we want the height variable to be 40 feet.
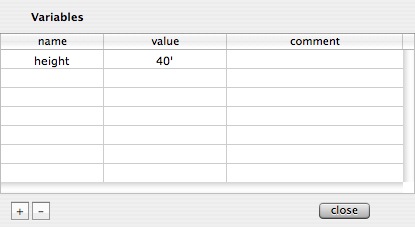
Hit the return key when you are done entering the value field. You can click on any part of the variables window to deselect the "height" row.
The Variables sheet should now look like this:
There are some names that are reserved by cocoNEC and cannot be used as spreadsheet variables. These are the names of NC types (int, real, float, element, vector and transform), NC operators (if, while, repeat and break) and NC functions (e.g., wire, line, helix_, vect, sqrt, cos, etc).
Now create a second variable called "elem" and assign it a value of 5 (meters).
Click on the "height" row in the table and then click on the plus button. This should add a new variable below the "height" row. Enter "elem" as the name and tab over to assign "5" as its value. Since there is no foot symbol after the 5, this number will be interpreted to be in meters.
Had you not selected the "height" row before hitting the plus button, the new variable would have been added to the top of the Variables table. cocoaNEC does not care about the order of the variables in the table.
If you attempt to define the same variable name twice, you will receive a warning from cocoaNEC.
Variable names are case sensitive. As far as cocoaNEC is concerned, the names "reflector" and "Reflector" are different variables. Spaces are not allowed in variables; you can use the underscore character instead. Other than the underscore character, variable names can contain any upper or lower cased alphabet or a numerical digit, but the leading character of a variable must not be a numerical digit.
At this point, your Variables sheet should look like this:
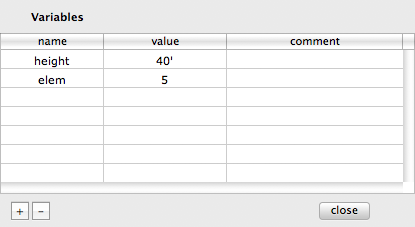
We are done entering our variables. You can now close the Variables sheet by clicking on the close button at the bottom right of the sheet.